How to Stop Prints from Cracking or Fading Over Time?

Time:2026-09-20 Author:Liam
0%

Why do prints crack or fade over time? The answer usually begins with chemistry, not careless handling. Ink, toner, coating, and paper react differently to light, heat, moisture, ozone, and physical movement. A glossy poster near a sunny window may lose color quickly. A folded label may develop fine white lines along its crease.

Professional testing supports this concern. Wilhelm Imaging Research evaluates print permanence through accelerated light, dark-storage, humidity, and ozone tests. Its published testing shows that pigment-based inks often resist fading better than many dye-based inks. However, results vary with paper coating, printer settings, framing, and exposure conditions. The Image Permanence Institute also stresses stable temperature and relative humidity for long-term media preservation.

Henry Wilhelm, a leading photographic permanence researcher, explains, “The permanence of a print depends on the stability of its image-forming materials.” That principle remains practical today. A strong ink cannot fully protect a weak coating. A durable substrate cannot prevent damage from constant ultraviolet exposure.

The important detail is often overlooked: cracking and fading are different failures. Cracking usually reflects bending, coating brittleness, poor adhesion, or repeated humidity changes. Fading results from chemical breakdown, especially under light and pollutants. They may appear together, but they need different solutions.

This guide examines how to stop prints from cracking or fading over time. It connects laboratory findings with real workshop experience, from choosing flexible media to controlling storage conditions. Some recommendations will not fit every print. That is worth admitting. Testing a small sample remains safer than trusting a universal promise.
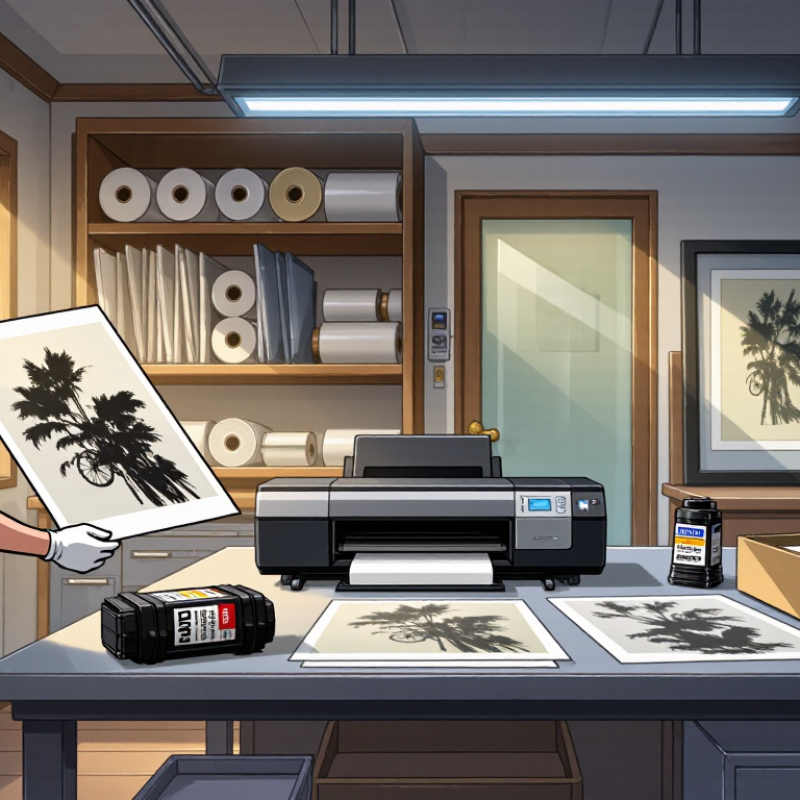
How to Stop Prints from Cracking or Fading Over Time?

Understanding Why Prints Crack or Fade Over Time

Prints rarely crack or fade without a reason. The surface usually records how it was printed, dried, handled, and stored. Cracking often begins when a rigid ink layer sits on a flexible surface. Repeated bending creates tiny lines, especially across folds or sharp corners. Heat can soften the print, while cold conditions make it brittle. Poor curing leaves moisture inside the ink film. That weakness may appear months later.

Fading has a different pattern. Ultraviolet light breaks down color compounds gradually, even behind ordinary glass. Oxygen, humidity, and airborne pollutants can speed this process. Dark, saturated colors may lose strength first. A print stored near a sunny window can change noticeably within one season. I have also seen careful work fail because the paper absorbed moisture unevenly. No storage method is perfect.

Tips: Let fresh prints cure fully before stacking or framing. Keep them flat in a cool, dry room with stable humidity. Use sleeves and backing materials made for long-term storage. Avoid direct sunlight, hot walls, damp basements, and frequent handling. Do not fold a print to test its flexibility. Instead, inspect the edges under soft light. If a coating feels tacky, wait longer. These small checks may seem excessive, but they can reveal problems early. Personally, I would rather lose a little time during inspection than discover cracks after delivery.

How to Stop Prints from Cracking or Fading Over Time?

Understanding why prints crack or fade over time starts with controlling cumulative light exposure. The chart shows the annual light dose received by a print displayed for 8 hours per day, calculated as illuminance × display time × 365 days.

Higher lux-hour exposure generally accelerates fading. To reduce cracking, keep temperature and relative humidity stable, avoid direct sunlight, and use UV-filtering glazing where appropriate.

Choosing Durable Materials and Compatible Printing Methods

Print durability starts with the material, not the artwork.

A soft cotton shirt may feel comfortable, but its fibers absorb moisture and expand during washing. This movement can stress the printed layer. Polyester is often more stable, yet some inks may bleed or lose adhesion on its smooth surface. For outdoor signs, choose a weather-resistant substrate with low water absorption. Surface preparation matters too. Dust, oil, and fabric softener can weaken adhesion before printing begins.

Use a printing method that matches the material and its daily use. Water-based inks can create a soft finish on suitable fabrics, but they need proper curing. If the ink remains damp inside, cracks may appear after several washes. Heat-transfer films can work well on flat, clean surfaces, while direct printing may suit detailed designs on absorbent textiles.

Always test a small sample first. Check it after washing, stretching, and several hours of sunlight.

I once trusted a visually perfect sample that faded quickly near a window. The mistake was skipping a longer light-exposure test. Temperature, pressure, and curing time should follow the material’s technical requirements, not guesswork. Wash printed garments inside out with mild detergent, and avoid excessive heat. Small choices make a visible difference.

Preparing Prints with Proper Curing, Drying, and Protective Coatings

How to Stop Prints from Cracking or Fading Over Time?

A durable print begins with proper curing, not just a dry-looking surface. Drying removes moisture or solvents from the surface, while curing strengthens the printed layer underneath. Follow the ink or material manufacturer’s recommended time and temperature. A print may feel dry after several hours but remain soft inside. Handle it gently during this stage. Keep the print flat in a clean, low-dust area with steady airflow. Avoid direct sunlight, high humidity, and stacking prints too early.

Tips: Use clean gloves to prevent oil marks. Leave space between prints. Check the surface with a light touch, not a hard rub. Before applying a protective coating, test it on a small spare piece. Look for clouding, color changes, tackiness, or edge lifting. If these appear, stop and adjust the drying time or coating method.

A protective coating can reduce fading, scratches, and moisture damage, but compatibility matters. Apply thin, even layers instead of one heavy coat. Heavy application may trap moisture and cause cracking later. Allow each layer to dry fully before adding another. I once rushed this step, and the surface looked smooth until the edges curled. That mistake changed my process. I now inspect corners, dark areas, and fine details after curing. A simple rub test and a short observation period can reveal problems before the print is installed. Even careful work can fail when conditions change. Temperature and humidity deserve attention.

Storing and Displaying Prints Under Stable Environmental Conditions

Prints often crack or fade because their surroundings change too quickly.

Paper expands in damp air and contracts in dry conditions. That repeated movement stresses the fibers, coatings, and pigments. Aim for steady indoor conditions, ideally around 18–24°C and 30–50% relative humidity. Avoid placing prints near radiators, air conditioners, kitchens, or sunny windows.

A stable room matters more than a perfect number.

Use archival-quality mats, folders, and sleeves made from acid-free, lignin-free materials. Keep the artwork flat when possible, with clean hands and gentle support. Glass or acrylic glazing can reduce dust and ultraviolet exposure, but it should not press against the print. Leave a small air space inside the frame.

I have seen prints develop pale bands where sunlight reached the edges for only a few months.

Check the display every few weeks. Look for curling corners, brittle paper, fading, or tiny surface cracks. A small digital humidity monitor can reveal changes that your eyes miss. If the room becomes unusually damp, improve ventilation rather than sealing the print immediately. If the air is very dry, avoid placing a humidifier beside the frame.

Sudden corrections can cause damage too. I once underestimated seasonal heating and stored a print too close to a warm wall. The frame looked fine, but the paper changed noticeably.

Stable conditions require patience, and sometimes a second look.

Inspecting, Cleaning, and Repairing Prints Without Causing Further Damage

Cracked or fading prints need careful attention, not aggressive cleaning. Look before touching. Place the print on a clean, flat surface away from direct sunlight. Use raking light from the side to reveal lifted edges, surface cracks, stains, and uneven fading. Record the date, dimensions, visible damage, and storage conditions. A phone photograph can help, but it may hide delicate texture.

Handle the print with clean, dry hands, supporting the entire sheet. Cotton gloves can reduce grip and cause slips, so they are not always the safest choice. Never use household cleaners, adhesive tape, or water without professional guidance.

A soft conservation brush may remove loose dust, but test it gently at an outer corner first. Stop immediately if pigment transfers or the surface feels powdery.

Minor tears may be stabilized with archival tissue and reversible paste, but home repairs often leave ridges or dark marks. I have seen a small repair become harder to correct after too much adhesive was applied. That mistake is easy to make.

For valuable, brittle, or heavily faded prints, consult a qualified paper or photograph conservator. Store repaired prints flat, using acid-free enclosures, stable humidity, and low-light conditions. Progress can be slow. That is safer.

FAQS

Why do printed surfaces crack over time?

Cracking often starts when rigid ink sits on a flexible surface. Repeated bending creates tiny lines across folds and corners. Heat can soften the layer, while cold makes it brittle. Poor curing may leave moisture trapped inside. The damage can appear months later.

What causes printed colors to fade?

Ultraviolet light gradually breaks down color compounds. Oxygen, humidity, and airborne pollutants can accelerate fading. Dark, saturated colors may weaken first. A sunny window can change a print within one season. Ordinary glass offers limited protection.

How should fresh prints be cured?

Drying removes surface moisture, but curing strengthens the inner layer. Follow the required temperature and curing time for the material. A print may feel dry while remaining soft inside. Keep it flat in a clean area with steady airflow. Do not stack prints too early.

What storage conditions help prevent damage?

Store prints flat in a cool, dry room with stable humidity. Use protective sleeves and suitable backing materials. Avoid sunny windows, hot walls, damp basements, and frequent handling. Leave space between prints during drying. No method is perfect.

Which materials are more durable for printed products?

Material choice strongly affects print durability. Soft cotton absorbs moisture and expands during washing. This movement can stress the printed layer. Polyester is often more stable, but smooth surfaces may reduce adhesion. Outdoor signs need substrates with low water absorption.

How can a protective coating prevent fading or cracking?

A compatible coating can reduce fading, scratches, and moisture damage. Apply thin, even layers instead of one heavy coat. Heavy coating may trap moisture and cause later cracking. Let every layer dry fully before adding another. Test a spare piece.

How should a print be tested before regular use?

Test a small sample before producing the full batch. Wash it, stretch it, and expose it to sunlight for several hours. Check for fading, edge lifting, tackiness, clouding, or color changes. A visually perfect sample can still fail near a window. Longer testing is easy to skip.

How should printed garments be washed and handled?

Wash printed garments inside out with mild detergent. Avoid excessive heat during washing and drying. Handle fresh prints gently while the ink layer finishes curing. Do not fold a print to test flexibility. Inspect edges under soft light instead.

Conclusion

Prints can lose their strength and appearance when moisture, heat, sunlight, poor-quality materials, or incompatible printing methods weaken the surface over time. Understanding why do prints crack or fade over time helps you choose more durable paper, fabric, ink, or coating combinations for the intended use. Proper curing and drying are also essential, as prints that are handled or coated too soon may develop cracks, smudges, or uneven finishes. Applying a suitable protective coating can add resistance to light, moisture, and everyday wear.

To preserve prints, store and display them in stable conditions with moderate humidity, limited direct sunlight, and protection from dust and sudden temperature changes. Regular inspection can reveal early signs of fading, peeling, or surface damage. Clean prints gently with a soft, dry tool and avoid harsh chemicals or excessive pressure. When damage appears, make careful repairs with compatible materials, or seek professional help for valuable or delicate pieces. With suitable materials, careful preparation, and consistent maintenance, prints can remain attractive and intact for much longer.

Liam

Liam

Liam is a dedicated marketing professional with a profound expertise in the industry, where he excels at highlighting the unique advantages of our core products. With a keen understanding of market trends and consumer needs, Liam frequently updates our company’s professional blog, providing......